
October 1, 2015 Let's Make an Event Graphic! - A step-by-step guide to designing in Canva
It is so important to make your event graphics visually interesting and engaging. So, we've created a step-by-step tutorial to help you create intriguing designs!
An event graphic intrigues and informs your church in a visual way. Before your audience even begins to read the details, they are already making assumptions based on the look and feel of the event graphic. This is why it is so important to make these graphics visually interesting and engaging.
Before you jump into designing, you need to think about what would connect with your audience in the most effective way. A young adult event graphic should appear modern and trendy; while a women’s event would look feminine. A men’s event might look masculine while a family or children’s event would appear friendly and inviting. (Check out our Canva page to see examples of how these visual styles can be implemented.)
Now that you know how important event graphics are, we're going to make it simple for you to design them!
Below is a step-by-step tutorial of how to create an event graphic in Canva:
- Go to canva.com.
- Under the “Create a design” section, click “More."
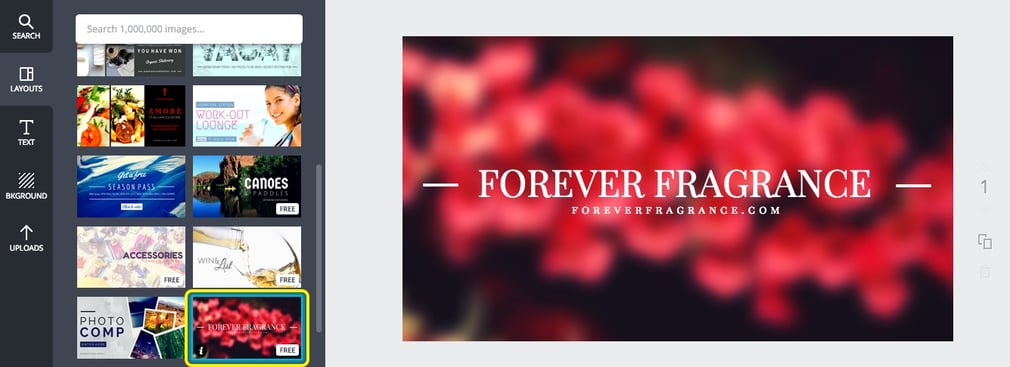
- Select “Facebook App." This preset dimension (810px x 450px) will give you a good jumping off point for your first event graphic. (You can also create your own dimensions by clicking “Use custom dimensions” instead.)
- Under “Layouts," choose the tenth layout in the second column: "Forever Fragrance."
- Type the name of your event in the header.
- In our example, the event title is, “Ladies Night Out.
- Change the size of this type to 44.
- Type the date of the event in the subhead text.
- In our example, the date is “November 28, 2016."
- Change the size of this type to 18.
- Type “border” into the search bar on the top left.
- Pick out a square or rectangular border and resize it to fit more closely to the dimensions of the graphic.
- Center the border, both horizontally and vertically using Canva's spacing gridlines that appear as you move your text or image box.
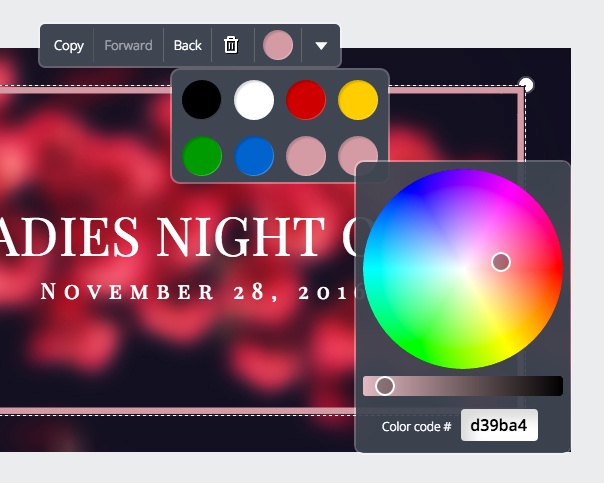
- Click the border, click on the circle of color in the pop-up menu, click the plus sign and move the color picker on the color wheel. Change the color of the border to light pink.
- To download, click “Download” on the menu at the top right side. Choose the download option that best fits your needs. For the web, use JPG; For print, use PNG or PDF.
You’ve now created an event graphic using Canva!
Get inspired to make more event graphics by heading over to Fishhook’s Canva page to view our profile and the designs we've created!
If you prefer to have an offline template or to use Photoshop, we've created four event graphic templates for you to use. Click below to download them!
